
A successful haul-out (dry dock) period requires meticulous planning, strict adherence to tidal windows, and a structured approach to underwater hull maintenance. When your sailboat is out of the water, every day counts.
This comprehensive technical guide breaks down the critical phases of a haul-out project, focusing on safe yard navigation, hull preparation, gelcoat restoration, and drivetrain servicing.
1. Pre-Haul Logistics and Tidal Navigation
Navigating to a boatyard—especially those located upriver or in shallow estuaries—presents unique hydrodynamic and pilotage challenges.
Tide and Depth Management: Always cross-reference local tide tables with your vessel's maximum draft. In poorly charted rivers or channels without precise bathymetric data, timing your transit exactly at high tide (high water) provides a crucial safety margin.
Navigational Hazards Near Buoys: Avoid cutting corners close to lateral markers or buoys. Silt and debris often accumulate around markers, significantly reducing the actual controlling depth compared to the mid-channel.
Proximity Shielding: When navigating tight channels with strong cross-currents, hugging the deeper, fast-flowing outer bend of the river helps maintain steerage, but closely monitor your depth sounder for sudden shelving.
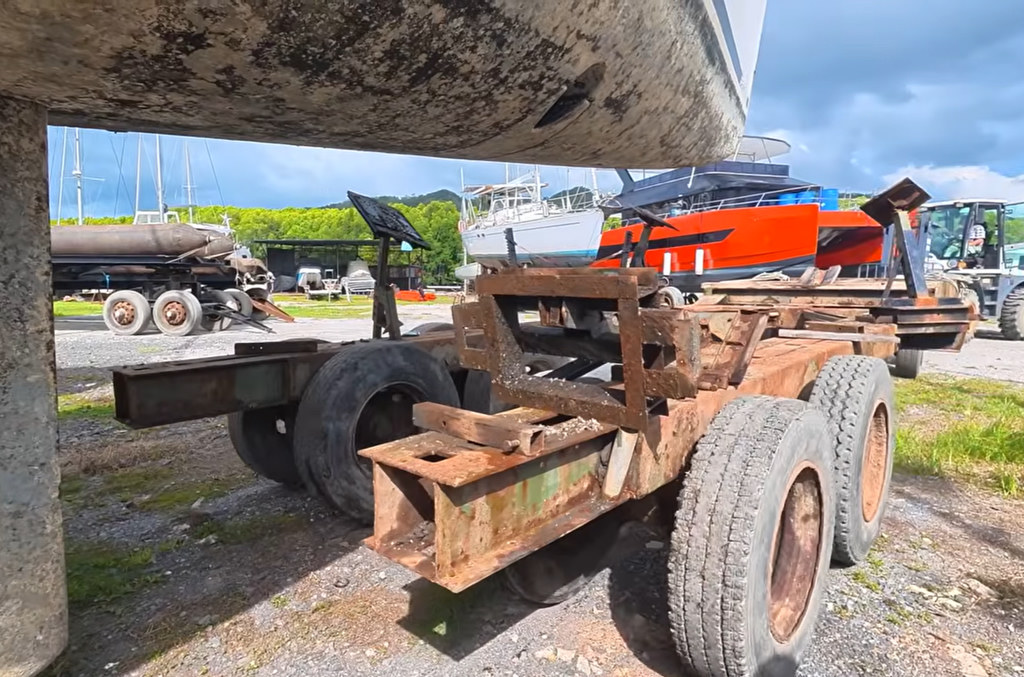
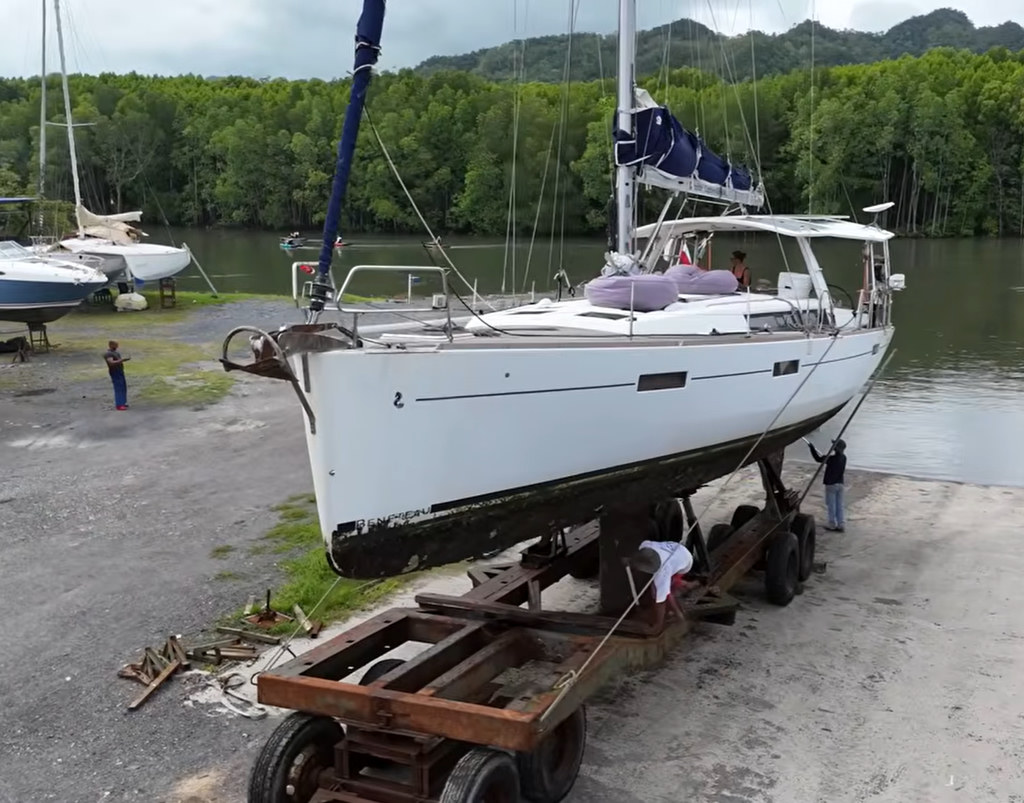
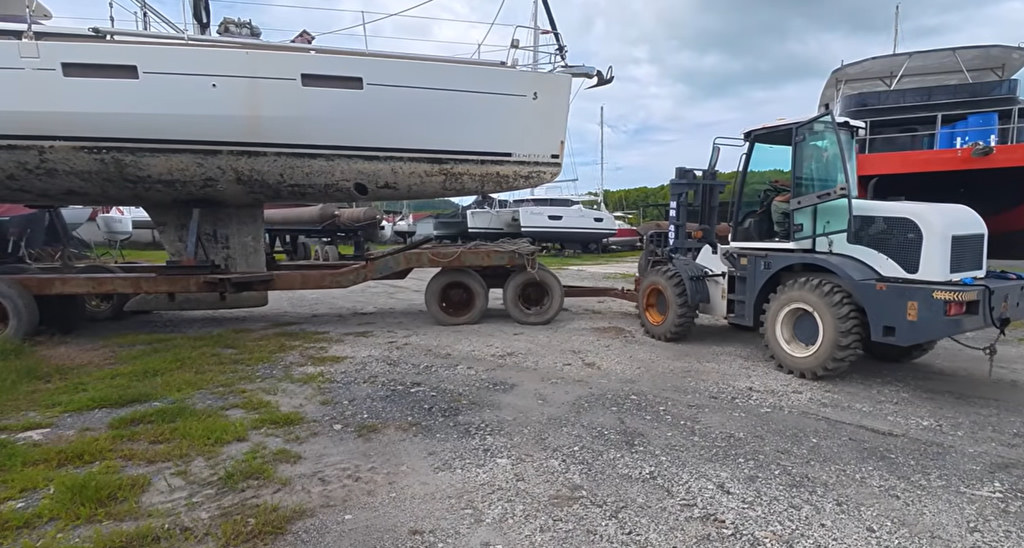
2. Extraction, Pressure Washing, and Yacht Blocking
As soon as the yacht is lifted via a travelift, crane, or specialized hydraulic trailer, immediate stabilization and cleaning are paramount.
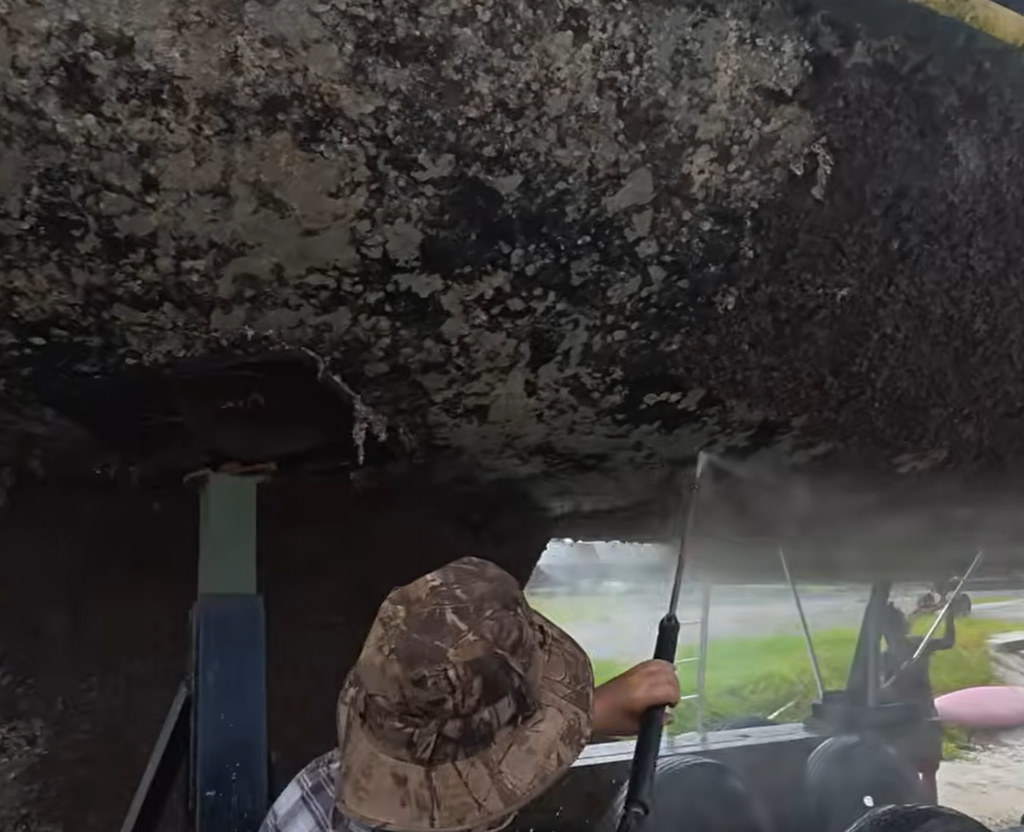
Immediate Marine Growth Removal: Run a high-pressure freshwater washdown immediately after the hull breaks the surface. If marine growth, barnacles, and old antifouling dust dry out, they harden into a composite matrix that is significantly harder to scrape or sand later.
Structural Blocking: Ensure the boatyard crew positions heavy-duty adjustable jack stands against the hull's designated structural bulkheads. The weight of the vessel must rest primarily on its keel blocks, with the side stands acting purely as lateral stabilizers to prevent hull flexing or gelcoat puncture.
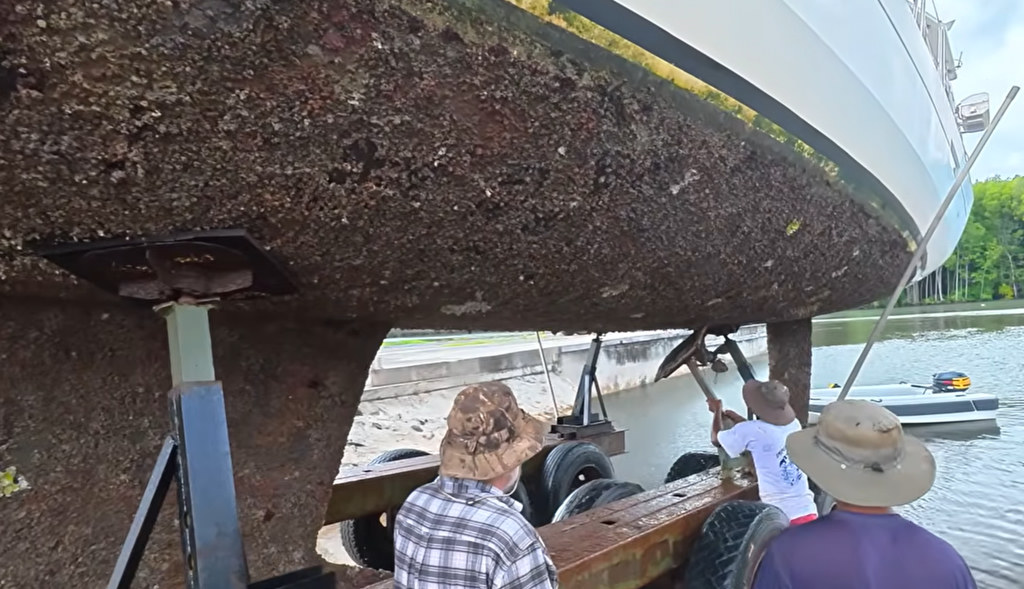
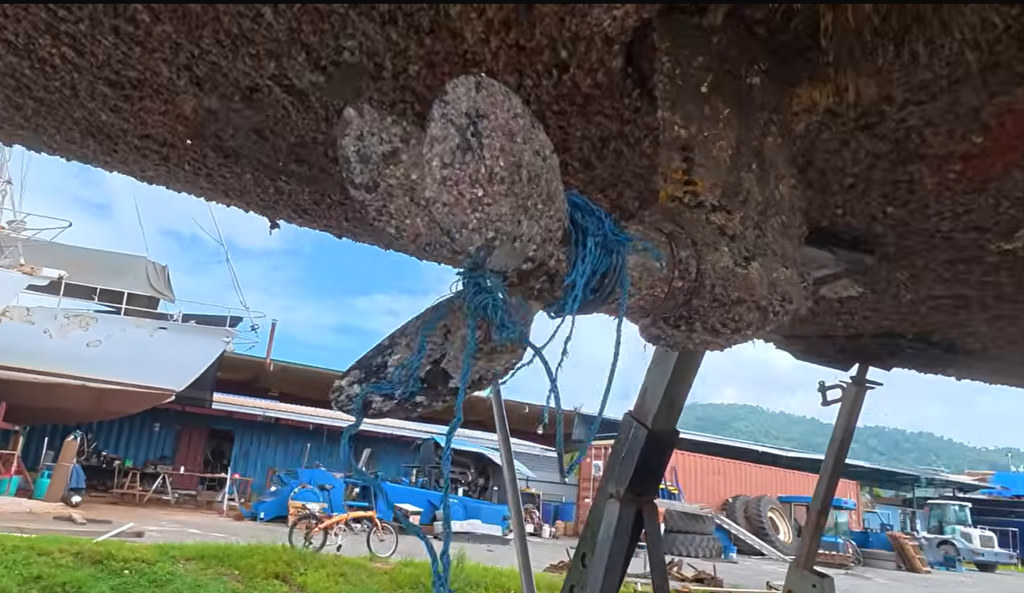
3. Hull Preparation, Waterline Masking, and Gelcoat Repair
Proper surface preparation accounts for 80% of the longevity of your next bottom paint and gelcoat finish. The heavily fouled hull visible in the extraction photos above is exactly the surface condition that demands controlled scraping, masking, and repair before repainting.
The Waterline Shield: Apply premium marine-grade blue painter's tape along the exact waterline overlay. This tape does not just mark a clean line for antifouling application; it serves as a physical buffer. If an orbital sander or angle grinder slips during bottom prep, the thick tape protects the topside gelcoat from deep, destructive gouges. Avoid cheap white masking tape, which bakes under UV rays and leaves a stubborn adhesive residue.
Controlled Bottom Scraping: When removing layers of failing, flaky antifouling paint down to the epoxy primer, always use a variable-speed angle grinder or sander. High-RPM tools instantly burn through the thin primer and bite into the structural fiberglass laminate. Lower speeds offer maximum tactile control.
Bow Gelcoat Chip Repair
The bow often suffers impact fractures from anchors or floating debris.
- Grind out the damaged crater to remove fractured, loose gelcoat.
- Degrease the area thoroughly using pure acetone to ensure structural adhesion.
- Mix a two-component marine polyester or epoxy filler paste (typically a 1:2 or manufacturer-specified catalyst-to-base ratio). Overfill the gouge slightly to account for product shrinkage during chemical curing.
- Allow it to cure completely before block-sanding it flush with the surrounding hull contour.
4. Drivetrain and Saildrive Lower Unit Servicing
The underwater component of an aluminum saildrive is highly vulnerable to mechanical wear and catastrophic galvanic corrosion if neglected during dry dock.
[Bare Metal Leg] <--> [Perfect Electrical Contact] <--> [Sacrificial Anode]
                                                             |
                                                      (Dissolves First)
Oil Emulsion Inspection: Crack the lower drain plug of the saildrive. If the oil appears milky or contains distinct water droplets, the propeller shaft seals have failed. If the oil is clear, the seals are intact but should still be replaced preventatively.
Back-to-Back Shaft Seal Installation
Most saildrives utilize two heavy-duty rubber lip seals mounted back-to-back.
- Grease Packing: Before installation, pack the internal recess of the seals (where the stainless steel retaining spring resides) with high-viscosity marine grease. This prevents saltwater from corroding the spring over time.
- Orientation: Install the outer seal facing outward to block water ingress, and the inner seal facing inward to retain the internal gear oil. Use a properly sized sleeve or socket tool to drive the seals uniformly into the housing without tilting.
Anode Contact Optimization
Sacrificial zinc or aluminum anodes must protect the saildrive leg. If you notice corrosion or pitting on the aluminum leg surrounding the anode bolts, it indicates a complete failure of electrical contact. Sand the mounting surfaces on the saildrive leg down to clean, bare metal before bolting on the new anode. Tighten the stainless steel fasteners securely to guarantee a low-resistance electrical connection.
Summary Checklist
- Cross-reference tide tables with vessel draft before yard transit
- Pressure wash hull immediately after extraction — do not let growth dry
- Confirm keel blocks carry weight; jack stands are lateral only
- Mask waterline with premium blue painter's tape before bottom prep
- Use variable-speed grinder for antifouling removal
- Repair bow gelcoat chips with two-part filler after acetone degrease
- Inspect saildrive oil for milky water emulsion
- Replace shaft seals with grease-packed springs, correct orientation
- Sand anode mounting surfaces to bare metal before installation